John Williams & Company offer a bespoke lead casting service
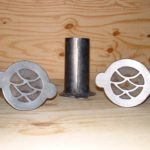
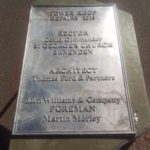
Using traditional moulded sand techniques, lead casting specialists John Williams & Company create seamless lead plaques and decorative features.
If you would like to get a quotation for a lead casting or need some advice please contact us.
The Traditional Method of Sand Casting
Stage 1
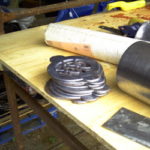
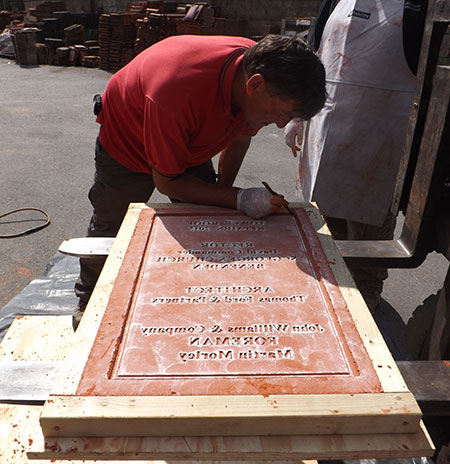
A template is made in the exact form as the required finished lead feature. Templates can be made from any material so long as it is relatively smooth. Sand moulds will take the shape of even the finest of details so if materials such as natural timber are used the mould is likely to also incorporate the grain of the wood in the casting process.
Stage 2
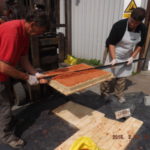
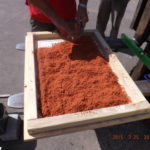
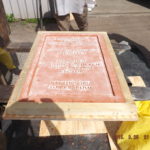
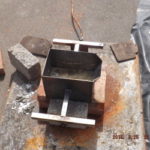
The template is dusted with parting powder to ensure the sand and template separate easily and then framed to form the casting box. Oil bonded moulding sand is then applied over the template. The first layer of this is hand sieved to ensure that all of the fine details of the template are well formed. The remainder of the sand required to fill the casting box can be added simply by hand without the need for a sieve.
Stage 3
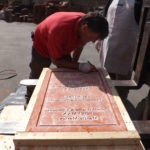
Once the casting box is full with sand it must be tightly compressed in order to both take the shape of the template and form a solid bed of sand suitable for pouring lead into. If the sand is not compressed sufficiently it could collapse around the template when removed or fail to form correctly on more intricate templates. The compacted sand is then struck off to form a flush, level face of sand. If the sand is not level the mould could deform once the box is flipped over for pouring.
Stage 4
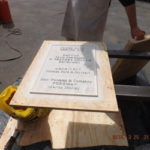
A ‘lid’ is then applied over the completed casting box and the whole thing is flipped over. If the mould being used is particularly large we would screw the box together to make sure nothing moved during this process. Once the box is now the correct way up the template can be removed from the sand to leave a negative impression. This is the most delicate part of the operation and if the template is not removed as carefully and as vertically as possible you risk damaging the mould and having to start again. Minor repairs to the sand are possible but anything substantial would require a new mould to be created.
Stage 5
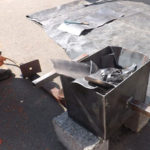
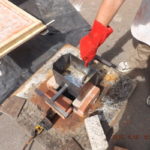
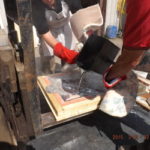
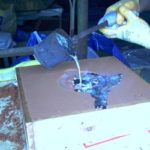
Once the mould is complete the lead can be melted using a gas burner and suitable strong metallic container. The size of the container used should be relative to the size of the item being cast. Lead has a very low melting point compared to other metals so it does not take long to get your molten metal. There are always imperfections within the lead and this ‘slag’ will float to the top and require skimming off and removing. The molten lead can then be carefully poured into the sand mould. Depending on the size of the mould it may require two simultaneous pours to ensure the casting is seamless as the lead will cool and set very quickly once it hits the sand. The lead should be cool enough to remove from the mould after 20 minutes or so unless it is very large and thick. Any sand stuck to the lead will need brushing off and the casting can then either be left to weather naturally or patinated.
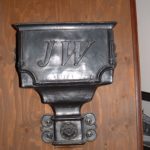
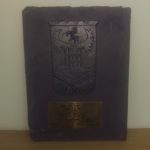
The completed lead items can now be cleaned up and finished as necessary. This technique can be used to make items from lead hoppers to decorative plaques and vents.
If you would like to get a quotation for a lead casting or need some advice please contact us.
- Sand Casting Stage 3
- Sand Casting Stage 1
- Sand Casting Stage 4
- Sand Casting Stage 2
- Sand Casting Stage 4

